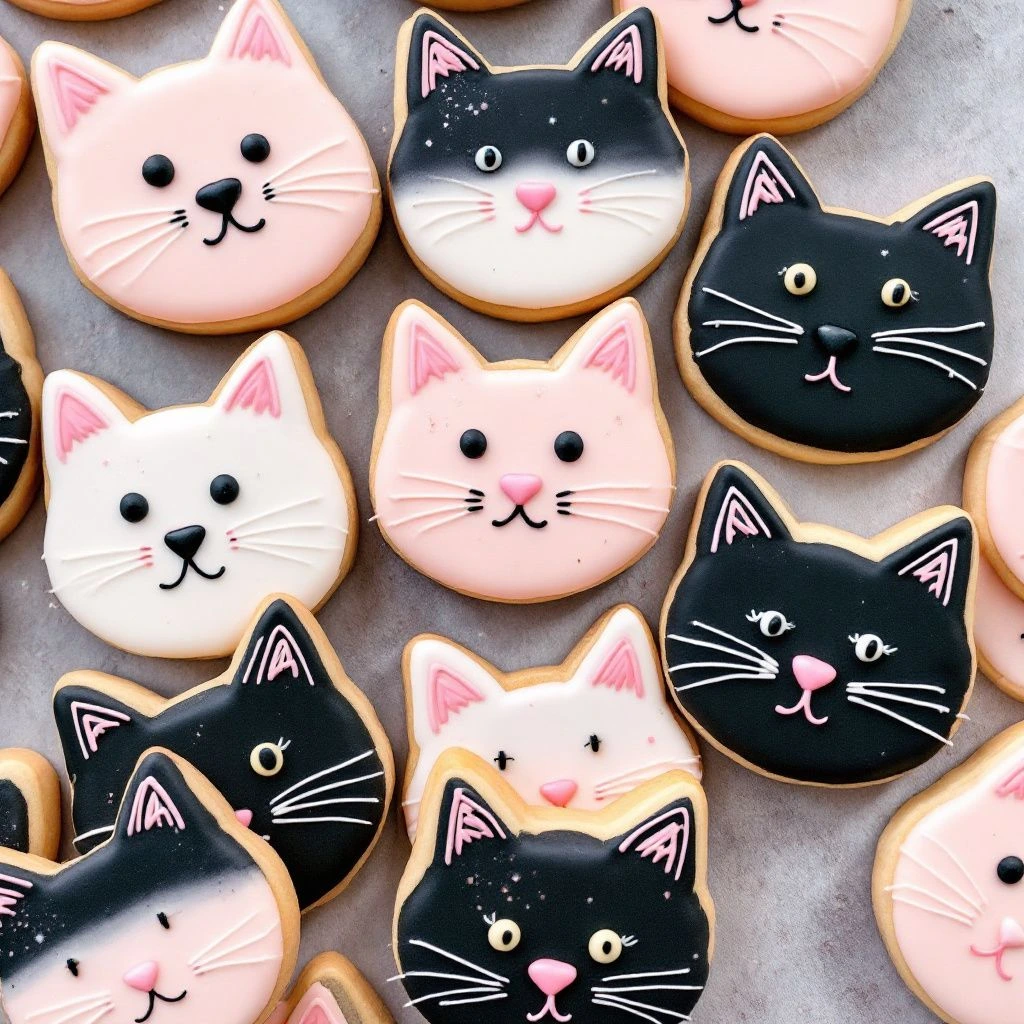
Are you ready to whip up some irresistibly cute cat cookies? In this guide, I’ll show you everything you need to make these treats, including simple decorating techniques to create charming cat faces and even spooky black cat cookies for Halloween. 🕸️ Let’s make some meow-gical memories together with this cat cookies recipe!
Table of Contents
Ingredients for Cat Cookies 🍪
Below are the essential ingredients to create these yummy cookies, ensuring the best texture and flavor for decorating!
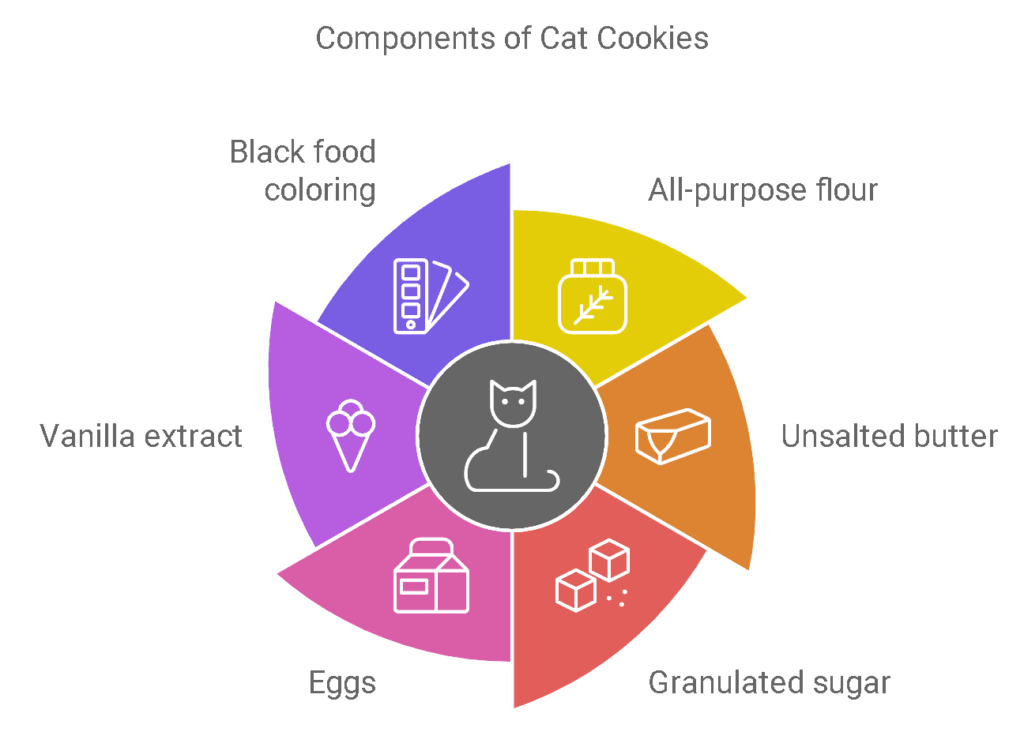
| Ingredients | Quantity | Note |
|---|---|---|
| All-purpose flour 🐾 | 2 ½ cups | For the perfect texture |
| Unsalted butter 🧈 | 1 cup (softened) | Room temperature for easy mixing |
| Granulated sugar 🥄 | 1 cup | Adds just the right amount of sweetness |
| Eggs 🥚 | 2 large | Helps bind the dough |
| Vanilla extract 🌸 | 1 tsp | For a touch of flavor |
| Black food coloring 🖤 | Optional | For black cat cookies |
Kitchen Tools Needed 🧁
To achieve decorating success, it’s important to have the right tools at your disposal. Here are some essential tools that can make a significant difference in your decorating projects!
- Mixing bowls 🥣
- Electric mixer 🍂
- Rolling pin 🎨
- Cat-shaped cookie cutters 🐱
- Piping bags and tips 🍪
- Food coloring 🎨 (especially black and pink)
- Toothpicks (for fine detailing) 🪄
Step-by-Step Instructions for Cat Cookies 🐾
Are you interested in baking? This guide will outline the process of creating delightful cat-shaped cookies. Let’s delve into the steps to get started!
1. Mix the Dry Ingredients:
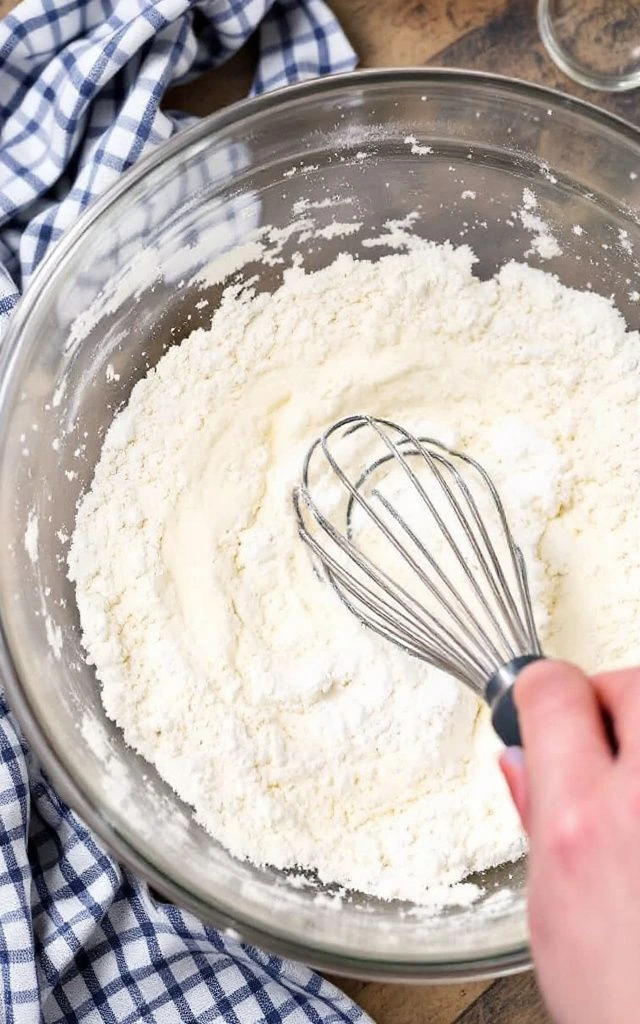
In a spacious mixing bowl, whisk together the flour and a delicate pinch of salt until they’re well blended. This simple combination sets the stage for something delicious—set it aside for now and get ready to create! 🌾
2. Cream the Butter and Sugar:
In a large bowl, beat the butter and sugar with an electric mixer on medium speed until light and fluffy. This should take about 2-3 minutes. Add in the eggs, one at a time, and mix until well blended. Add the vanilla extract, and mix once more. 🧁
3. Combine Wet and Dry Ingredients:
To prepare the dough, slowly incorporate the flour mixture into the butter mixture, mixing on low speed until a soft dough is achieved. Once combined, divide the dough into two equal portions and wrap each half in plastic wrap. It is recommended to chill the dough in the refrigerator for a minimum of 30 minutes to allow it to firm up. ❄️

4. Preheat the Oven and Prepare the Dough:
To begin, preheat your oven to 350°F (175°C). Next, on a lightly floured surface, roll out your dough until it reaches a thickness of approximately ¼ inch. Use a cat-shaped cookie cutter to create your cookie shapes. 🐱
5. Add Color (Optional):
To make black cat cookies, incorporate a few drops of black food coloring into the dough. Knead the coloring thoroughly until it is evenly distributed before rolling out the dough. This will ensure that the color is consistent throughout the cookies. 🖤
6. Bake the Cookies:
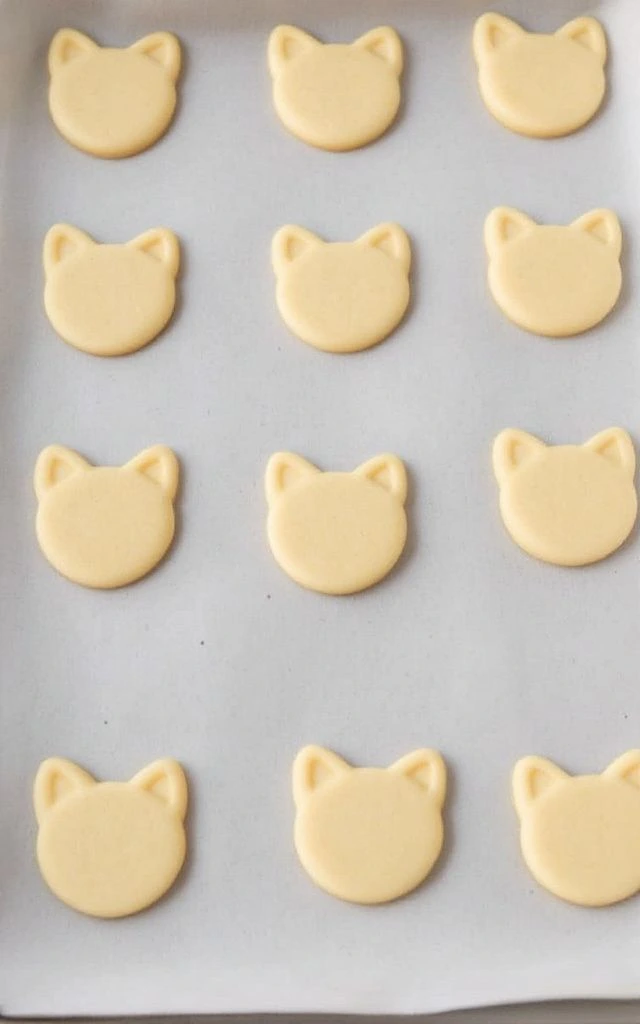
Arrange the cookies on a lined baking sheet, leaving a little space between each. Bake for 8-10 minutes, or until the edges are lightly golden. Let them cool completely on a wire rack before decorating. 🍪
7. Decorate Your Cat Cookies:
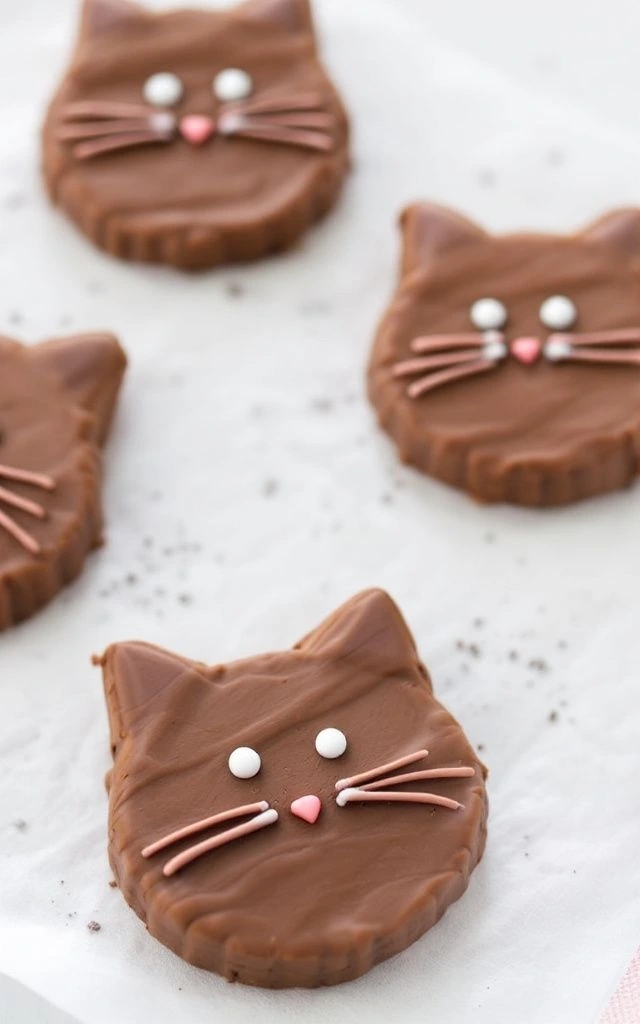
To add intricate details to your projects, consider using piping bags for elements such as eyes, whiskers, and pink noses. For precision work, a toothpick can be quite effective. Feel free to unleash your creativity by incorporating fun accessories like cute bow ties or even witch hats for a Halloween-themed touch! 🎃
Expert Tips for the Best Cat Cookies 🐈
- Chill the Dough: Chilling helps the cookies keep their shape.
- Test Color: Add black food coloring gradually; it’s potent and can darken as it bakes.
- Piping Precision: Keep a toothpick handy to smooth out fine lines.
- Creative Variations: Try adding almond or lemon extract for unique flavor twists.
Serving Suggestions 🎉
These cookies are an excellent choice for cat-themed parties or intimate gatherings. They pair well with:

- Milk in little bowls for an extra touch 🥛
- Tea or coffee for a cozy afternoon treat ☕
- A cookie platter with other animal-shaped cookies for variety 🐾
Nutritional Information (Per Cookie) 📊
Calories: 95
Fat: 5g
Carbs: 12g
Protein: 1g
Variations and Alternatives 🐈⬛
- Black Cat Cookies: Use black food coloring and give them green or yellow eyes for a spooky Halloween vibe!
- Gluten-Free Option: Substitute flour with a gluten-free blend.
- Chocolate Cat Cookies: Add ¼ cup cocoa powder to make a chocolate base, perfect for a twist on the classic.
Frequently Asked Questions (FAQ) 🙋
Q1: Can I make the dough in advance?
You can store it in the refrigerator for a maximum of 2 days, or if you need a longer storage option, it can be frozen for up to 3 months.
Q2: How do I keep the cookies fresh?
To ensure freshness, keep them stored in an airtight container at room temperature, where they will remain good for up to a week.
Q3: Can I use other shapes?
This dough offers exceptional versatility, allowing it to be effectively used with a variety of cookie cutters.
Q4: What’s the best way to transport decorated cookies?
To ensure that your items remain smudge-free during transit, it’s advisable to place wax paper between the layers. This simple step can help protect surfaces and maintain the quality of your deliverables.
Who Should Skip This Recipe? 🐾
If you have:
- Gluten sensitivity: Substitute with gluten-free flour or try another recipe.
- Low-sugar dietary needs: These are sweet treats!
- Allergy to dairy or eggs: The recipe includes both.
What Do You Think? 🐱
Have you made these cat cookies? Share your tips and photos in the comments! If you love creative treats, check out our Decorated Cookie Recipe or Unicorn Cookies for more fun baking ideas!
Also check out my other cookie recipes, classic cookies, family cookies, cookies made for kids, and quick and easy cookie recipe categories for further inspiration and ideas!
